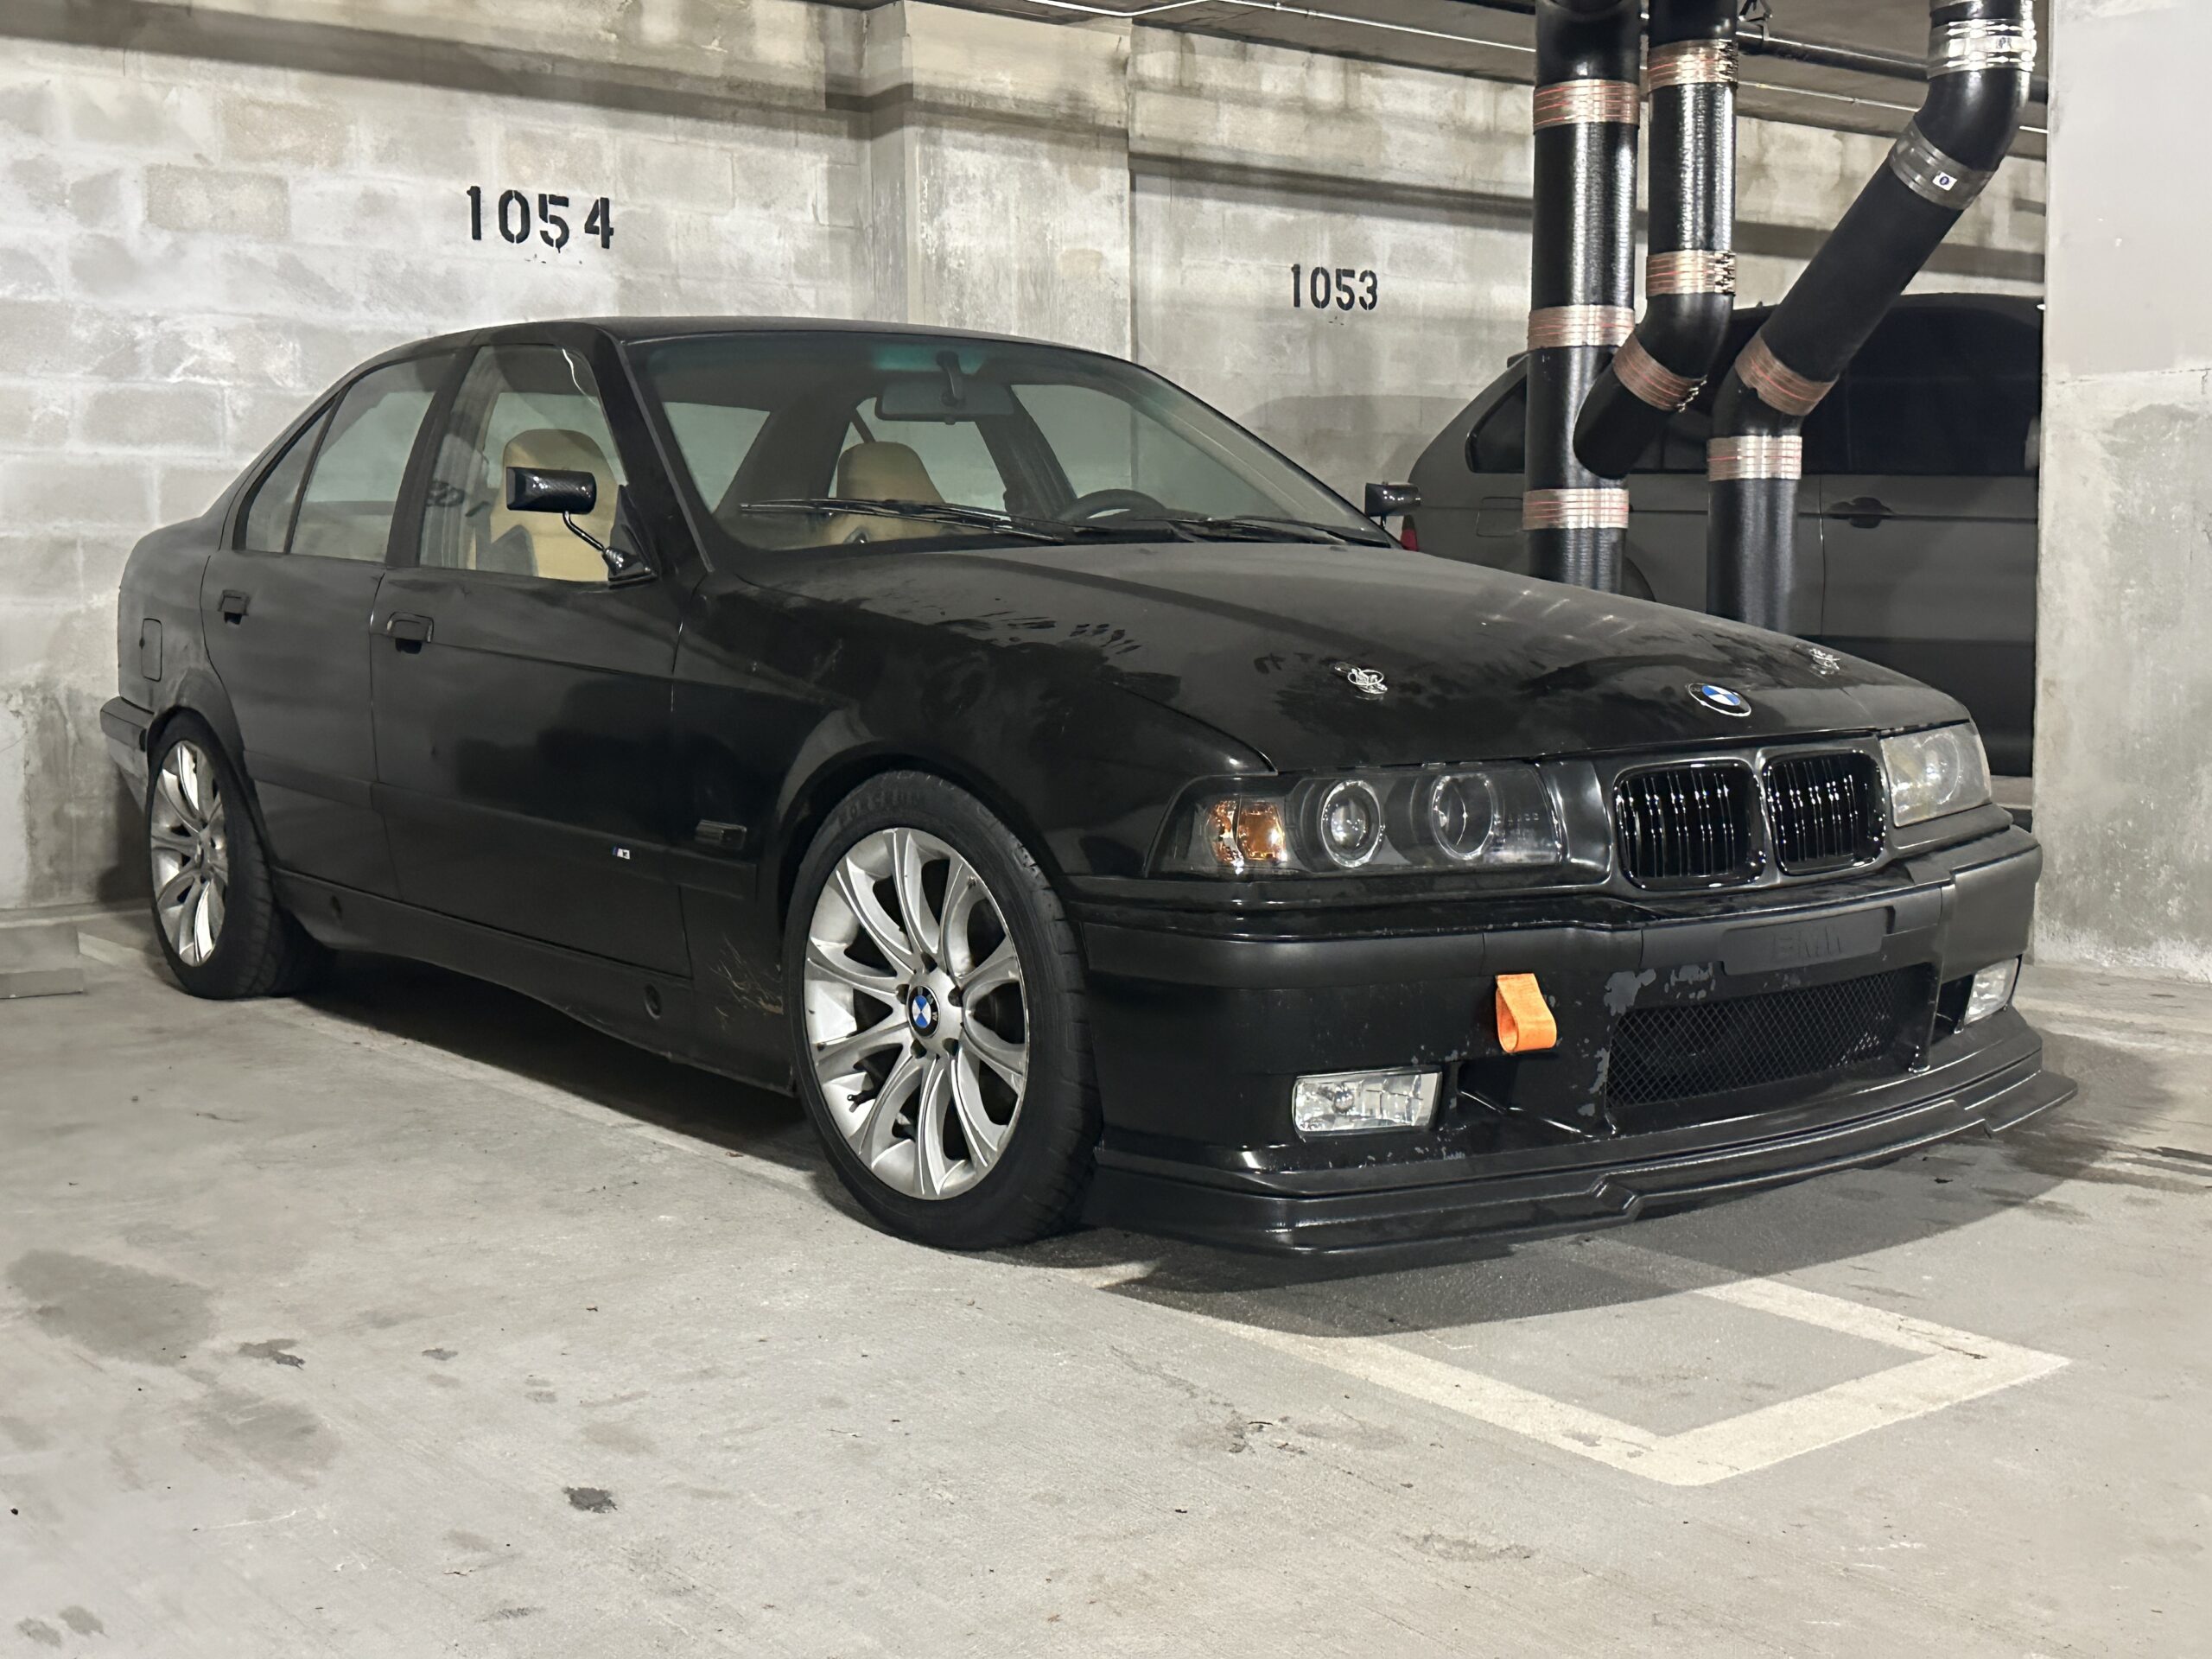
There’s something deeply satisfying about bringing an old BMW back to life, especially when it involves getting rid of decades-old suspension that’s turned every corner into a gamble. My E36 had been sitting far too high for far too long, and every speed bump reminded me that “factory comfort” was never designed for spirited driving. So when Flashark wanted to send out a full BMW E36 coilover kit, it was finally time to give the car the stance (and handling) it should’ve had from the factory.
This isn’t a paid ad or a sales pitch. It’s an honest look at what coilovers actually do, how the Flashark kit stacks up for a budget-friendly setup, and whether the ride height, comfort, and handling gains justify the effort of doing it yourself.
Why Coilovers Matter
Before we get into the wrenching, let’s talk about what coilovers actually are, and why enthusiasts upgrade to them.
A coilover is a single, integrated suspension unit that combines a spring and a shock absorber. The name literally comes from “coil spring over shock.” Unlike fixed shocks and springs, coilovers let you adjust your ride height (how low the car sits.)
From a performance standpoint, this gives you control over:
- Ride height: Lower center of gravity means less body roll and sharper cornering.
- Damping adjustment: Lets you tune the suspension for comfort, track use, or anything in between.
- Weight balance: Ideal for dialing in even handling on older chassis that never left the factory perfectly balanced.
For the E36, a car that’s already light, responsive, and well-balanced, a good coilover setup brings it to life. The stock suspension might’ve been fine in the 1990s, but 30 years later, it’s soft, tired, and sitting miles too high.
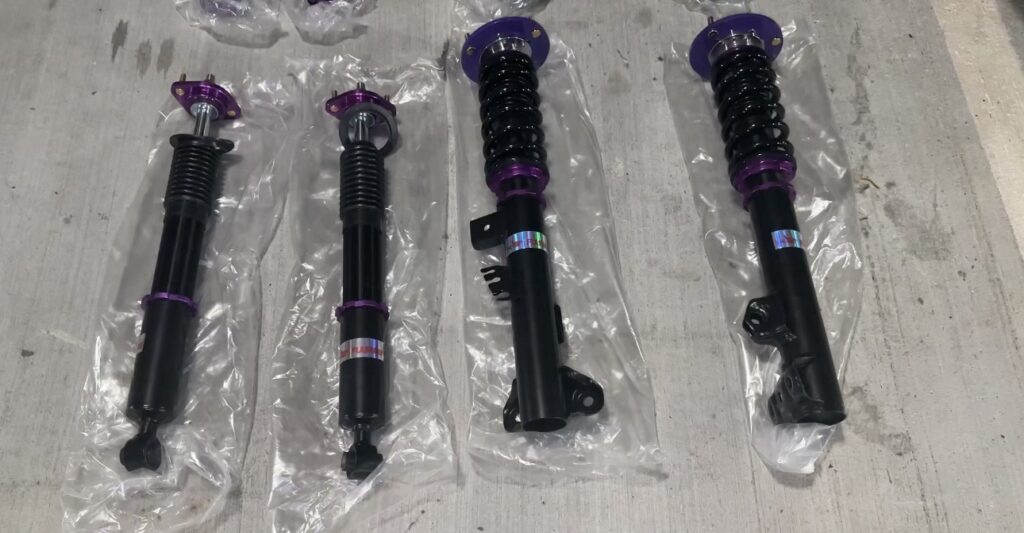
Why I Chose Flashark Coilovers
Let’s be real, not everyone wants to drop two grand on suspension. Flashark’s coilovers fall firmly in the budget-friendly category, and that’s exactly why I wanted them.
They promise:
- Full height adjustability front and rear
- Springs tested over 600,000 times
- Reinforced steel lower mounts and aluminum camber plates
- Pre-assembled top mounts so you don’t have to reuse old hardware
- All at a price point that makes entry-level coilovers accessible for daily drivers and project cars alike.
Out of the box, the finish was impressive, no rough threads or sloppy welds, just a clean surface and solid hardware. They feel like they’ll take a beating, which is exactly what you want on a car that sees real road use.
Before: Stock E36 Suspension
With the stock suspension, the stance was almost laughable. The wheel gap looked like it belonged on an SUV, not a sports sedan. From the side profile, you could’ve fit your whole hand between the arch and tire.
Factory ride height might be practical for speed bumps and winter roads, but it kills the E36’s look and handling. The front end sat higher than the rear, giving the car a nose-up stance that did nothing for cornering or stability.
On the road, the old suspension felt loose and vague. Every bump sent the body bouncing like a boat in a storm. When I pulled the old rear dampers, I confirmed what I already knew, they were completely dead. The rebound was gone. Push them down and they just stayed there. The shocks had officially retired years ago.
The Install: DIY in the Car Park
Front
I started with the front coilovers, and as with any E36 job, the first enemy was rust. The strut bolts had fused themselves in place with what I like to call Nature’s Loctite. The regular impact gun barely made them laugh, so I resorted to the classic two-foot breaker bar trick. That did the job, eventually.
Once the old struts were out, the Flashark fronts slid right in. One thing I learned the hard way: fit the bottom two bolts first, then the top. Doing it in reverse makes aligning everything an absolute nightmare. Learn from my mistakes and save yourself the swearing.
Each front coilover has proper mounts for the brake lines, wheel-speed sensors, and pad wear sensors, small details that show some thought went into the design. Torque specs are straightforward (107 Nm for the main bolts), and camber adjustment slots on the upper mounts allow for extra fine-tuning. Most E36 owners will want to max out the front camber to tuck the wheels neatly under the arches.
Rear
The rear setup is the classic BMW divorced spring and damper design, meaning the spring and shock sit separately. Flashark includes adjustable spring perches for the rear springs, allowing you to raise or lower the back independently.
Getting the old rear dampers out revealed just how tired they were. I tested the rebound, or lack of it, and it was comical. They were done. The Flashark replacements, by comparison, were firm to the point I couldn’t compress them by hand. That’s how you know they’re actually doing their job.
Working solo, I used the old “jack under the damper” trick to line up bolts, not glamorous, but effective. If you’ve got a mate, the job’s easier. I don’t, so I made it work. I also added reinforcement plates under the rear top mounts, a smart move for any E36, since those towers are known weak points.
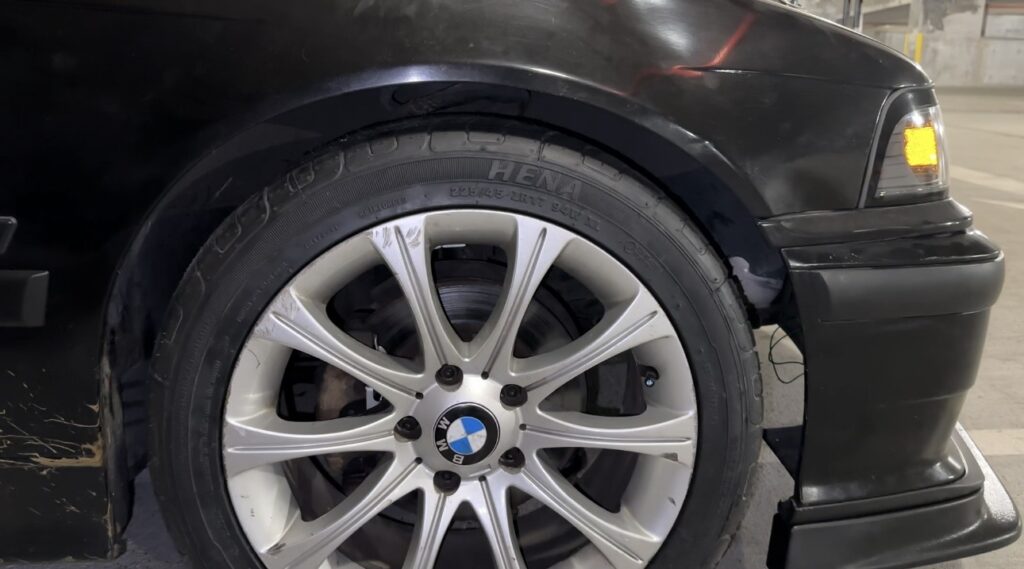
After: The Transformation
Once everything was torqued, adjusted, and settled, I dropped the car down to see the result, and it was immediately satisfying.
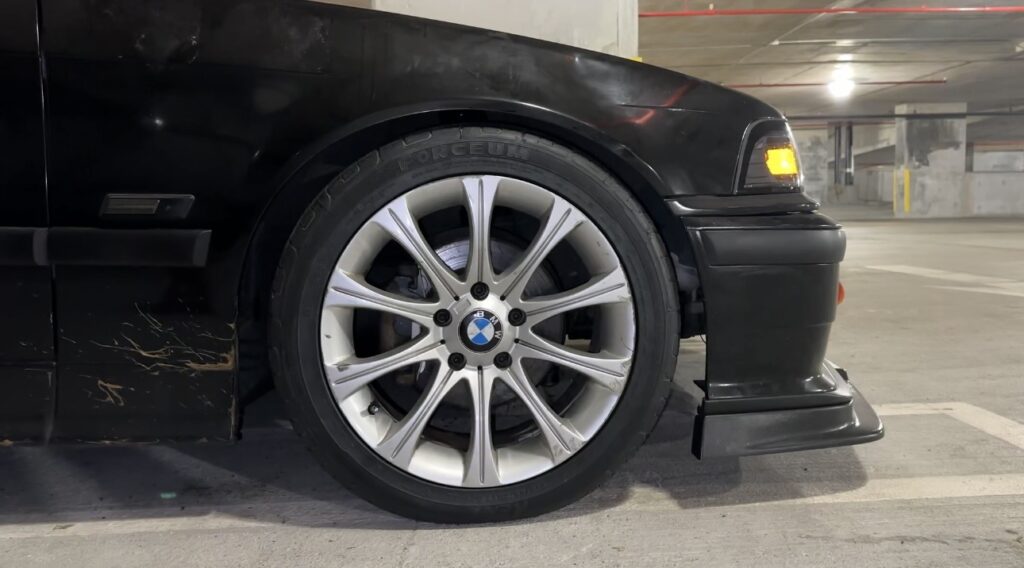
The front came down a good inch and a half. The rear sat evenly, closing that awkward factory gap without looking slammed. It’s a classic touring-car stance, low, level, and purposeful.
From the side, the E36 now looks planted. The new height balances the body lines perfectly and gives the car the aggressive look it always deserved.
Ride quality? Surprisingly solid. You feel the road (as you should) but it doesn’t beat you up. Over rough patches, there’s no crashing or bottoming out, just a controlled, confident response.
Lessons from the Install
Like any DIY job, there were a few “learning moments” along the way:
- Rust is the real enemy. Have penetrating oil and a breaker bar ready.
- Install order matters. Bottom bolts first on the front strut saves you hours.
- Check directionality. Front coilovers are side-specific; get them mixed up and your speed sensor and brake pad lines won’t line up.
- Reinforce all of the strut towers. Always. It’s cheap insurance against cracking later.
- Set the rear spring height all the way to the top, and the front height below the middle.
Despite a few hiccups, the kit went in cleanly. All hardware fit as expected, the threads were smooth, and nothing needed modification or trimming. That’s rare for budget coilovers, and it speaks well for Flashark’s build consistency.
Before vs After: Measurable Change
Visually, the difference is night and day.
- Before: Arch gap like a pickup truck, floaty handling, soft shocks.
- After: Roughly 25–35 mm lower ride height, tighter cornering, even stance front to rear.
The improvement in ride control is the biggest win. The car no longer wallows through corners, it actually feels like the chassis is working with you. Steering response has sharpened, and mid-corner stability has improved drastically.
If you’re used to factory E36 suspension, the Flashark setup feels like the car finally woke up.
The Verdict on Flashark Coilovers
Are these the best coilovers on the market? Of course not. But for the price-to-performance ratio, they’re hard to beat.
Pros:
✅ Affordable entry into adjustable suspension
✅ Noticeably better handling and aesthetics
✅ Straightforward install with proper hardware
✅ Solid construction and corrosion-resistant finish
Cons:
⚠️ Ride is firmer than stock (as expected)
⚠️ Still need alignment after install
For weekend builds, daily drivers, or anyone upgrading from worn-out stock shocks, these coilovers hit a sweet spot. You’re not paying for track-spec gear, but you’re getting real performance and control for a fraction of the price.
BMW E36 Coilover Torque Specs
- BMW Front Coilover Bolts = 107Nm or 79 ft-lbs, of torque
- BMW Rear Damper Mount Bolt = 100Nm or 74 ft-lbs, of torque
- BMW Front Coilover Mount Nuts = 25Nm or 18.4 ft-lbs, of torque
- BMW Rear Damper Mount Nuts = 25Nm or 18.4 ft-lbs, of torque
Final Thoughts
Upgrading suspension is one of the most rewarding mods you can do on an older BMW. It changes how the car looks, feels, and drives, instantly.
The Flashark kit took my E36 from tired and floaty to sharp and planted, with just enough comfort left for daily driving. The stance is bang-on, the wheel gap is gone, and the car finally handles like it should.
If you’re looking for an affordable way to modernize your E36’s ride without breaking the bank, I can honestly say: Flashark coilovers are worth a look.
Just make sure you’ve got a breaker bar, patience, and (ideally) a friend who doesn’t mind spending an afternoon under a car.
Watch the full install on YouTube: